
Since the trend (fad?) nowadays is that everyone’s getting a road bike – I decided to ride (no pun intended) the bandwagon and get one myself.
Why are you looking at me like that? I’ll have you know that that is is a road bike just as well. It’s a bike, and it’s for the road! What, you thought I was going to allow myself to wear cycling shorts? I’m not yet prepared for that!
Anyways, this post is a sort of review on my latest acquisition. Though I’d more likely say “unboxing” (even if it has no box to speak of), as all I’m going to talk about here is on the modifications I made on it, and not my experience riding it (not yet at least)
Introduction
So I got a Ducati Monster 795. As for why I ended up choosing this particular bike/model, you can read all about that in a previous post. And if you’ve read that previous post, and as a basis for context/comparison – I’m going to be mentioning the 696 or 796 on different occasions.
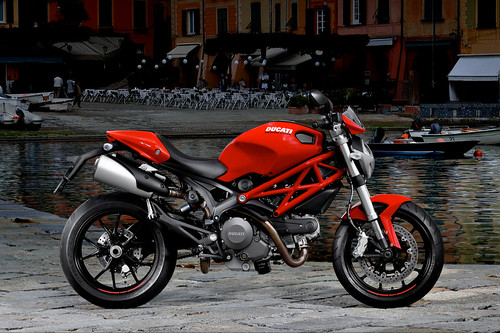
So first up is to show you how the 795 looks straight off the shop. It’s a model that only comes in one color/theme (Red), unlike the other models which give you some choices of color combinations.
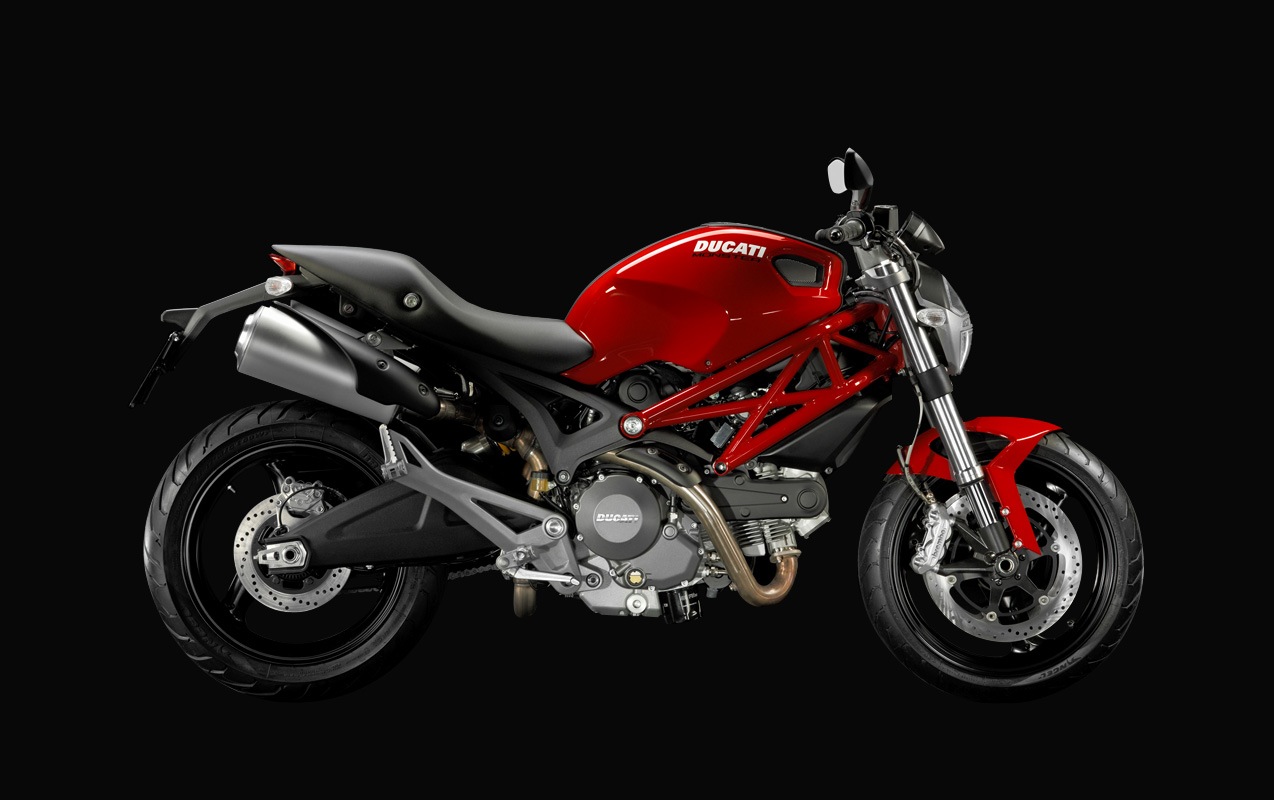
From the photo above, if we would compare it to a 796, these are basically the cosmetic aspects we’ve lost:
- No single sided sing arm (which is the only thing I really regret for not getting the 796)
- No seat cowl
- No front fairing/windshield
- Only comes in one color scheme
- Comes with beefier tyres 1 Although the slimmer tyres are sure to make it more agile – and easier to steer given my frame/build
All of which, with the exception of the first and last issues, I’ve already solved by purchasing the parts, and paying for an in house paint-job. And the money I got to save by choosing the 795 I used up on aftermarket parts/accessories. So as of this posting, for the same price of a stock 796 – I got to customize my bike a whole lot.
So without further ado, let’s start the bike pr0n.
Monster in Detail
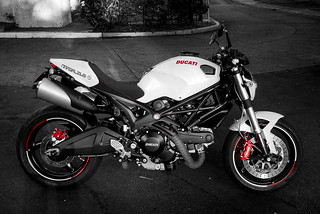
To simplify things, I’ll say upfront that the “base” peg for paint modifications I had was Ducati’s Diesel Edition for the Monster, with almost everything blacked out save for the fairings. You’ve already seen the finished product of the bike in the very first picture, so you know that I went for [pearl] white to match my car.
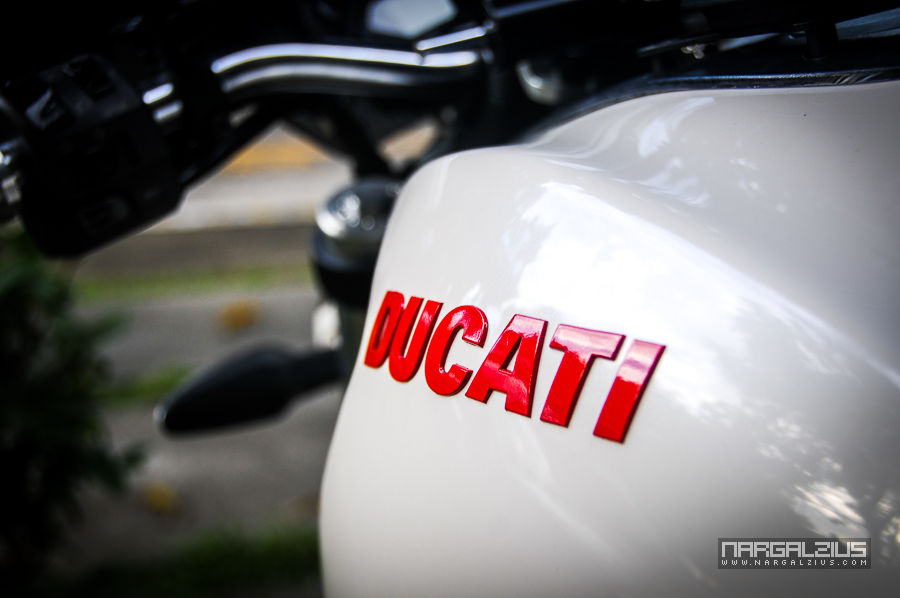
As far as the branding goes, I had them sand everything down, removing the “Ducati” and “Monster” emboss on the fairing. Then I had them do away with the “Monster” writing altogether and stick in a physical insignia, just like the Diesel, in red.
Next, we have the details on the lower part of the bike pictured below. The clutch cover’s painted black (while exposing the metal of the logo) to match the Diesel. The exhaust pipes painted (hi-temp paint) black as well.
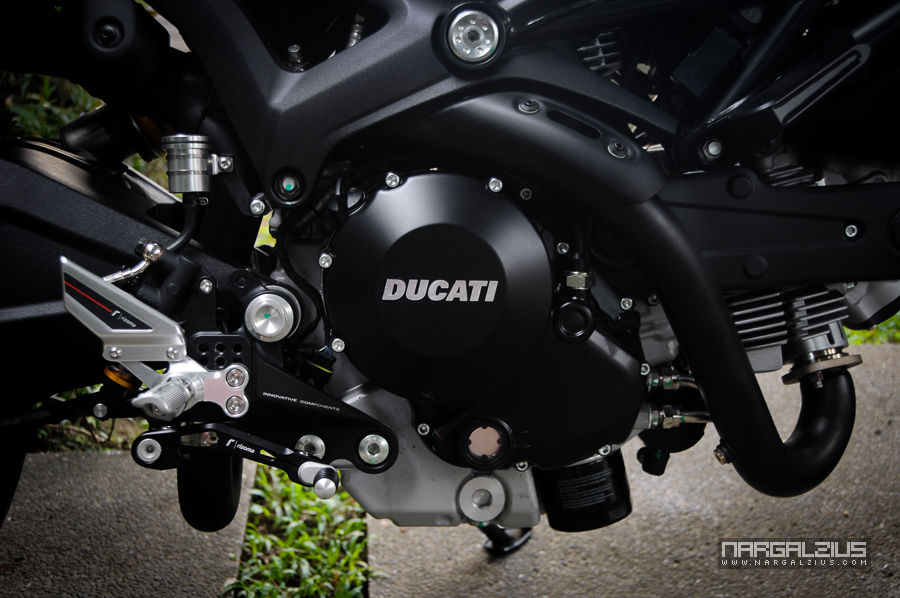
Not shown in the picture are the passenger brackets(?) I also had painted black (instead of the gray you see in the stock), but since I had a Rizoma REV Rearset installed, it required us to remove the brackets altogether (as it was forged with the actual stock controls). Incidentally, they say that I’m the first ever costumer to put a Rizoma rearset on a Monster in the country, so I guess I get bragging rights for that.
Right above the rearset you can see that I swapped out the stock plastic rear-brake reservoir with Rizoma’s aluminium fluid tank.
Lastly, to the upper right side of the photo, mounted to the trellis is the Rizoma frame slider, which is thankfully blending in with the rest of the black – which doesn’t make it stick out like a sore thumb. Imagine having that on a red frame/trellis. Ewww!
Front Detail
Moving to the front, you see a Givi windshield (the stock 795 doesn’t have a front fairing like with the other models) – which is far better (and cheaper too!) than any of the stock fairings the other models have – as it’s much larger and will deflect much more wind.
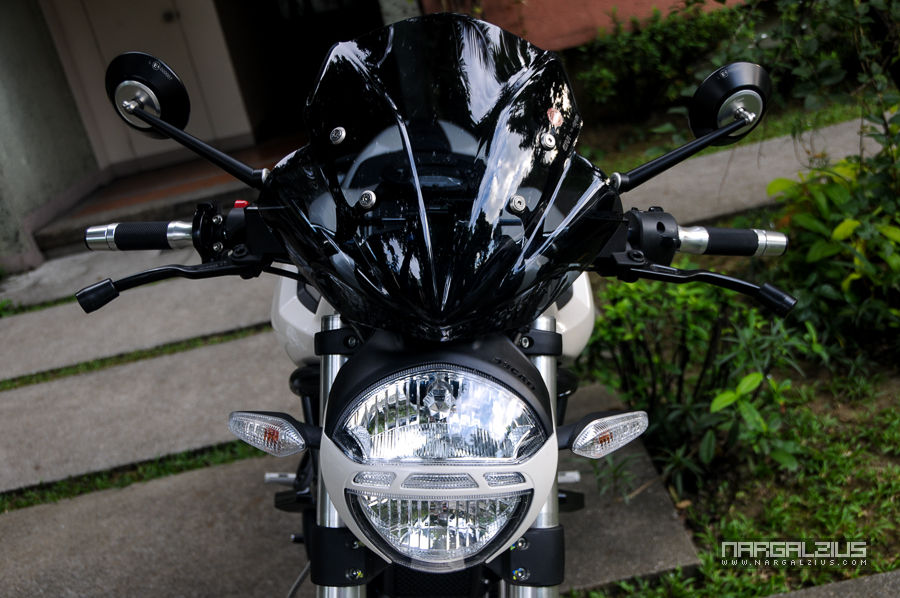
I also had the lower part of the headlight frame painted white – which I was told was the first time ever done to a Monster in the Philippines regardless of color – so I guess I get bragging rights for that as well.
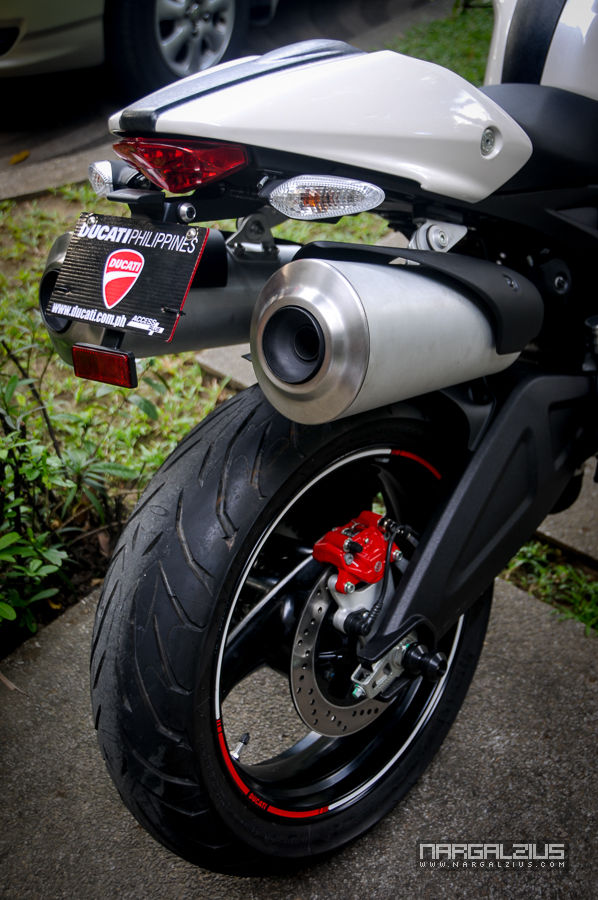
Tyre Details
Going down to the tyres, I didn’t really follow the typical all red stripe (or italian colours) everyone was doing – but instead chose an alternating red/white striping – to add more “presence” to the wheel while retaining the beautiful Ducati red stripe that people love.
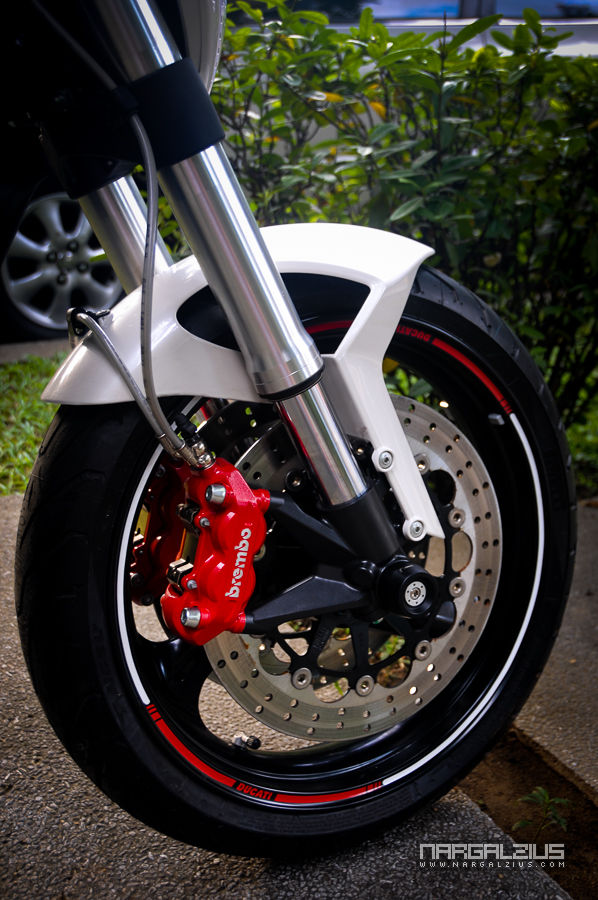
For the calipers, I decided to do it like with cars; red calipers but have the logo/glyphs use the exposed metal instead of white for some uniqueness. (plus it would be more consistent with the detailing style of the clutch cover). Initially I was supposed to do it like everyone else (just have the logo/glyphs painted red) but then I figured why not make it more unique… after a quick Photoshop session, I found that it looked infinitely better – especially with the stripes and gas tank logo – everything just gelled wonderfully. Also, not so noticeable in the picture, are the Rizoma front sliders
The same treatment was done for the rear tyres – which also makes for a nice transition to the rear modifications.
Rear Detail
Only difference with the rear tyre treatment is the axle sliders used are not Rizoma. Instead, I used a MotovationUSA slider which allows the bike to be stood up with a spindle-type stand. I figured it was better to have it compatible with as much kinds of stands – just in case 🙂
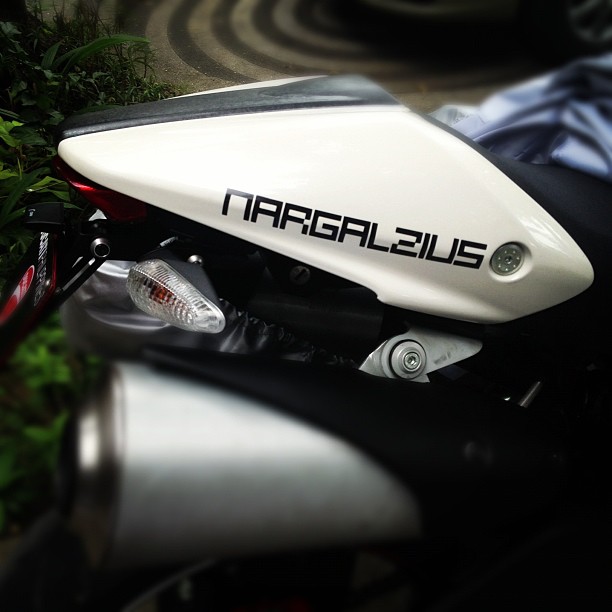
Continuing on the rear area, we have a carbon seat cowl, but I had the carbon detail painted over to match the striping on the gas tank area. While I do like the carbon accent, I felt it just looked off being the only carbon looking component there 2 And upgrading the rest to match it was going to be too expensive an alternative
Other than that, I replaced the stock fender/mudguard with Rizoma’s License Plate Kit to clean up the back-end.
Controls
We’ve seen the foot controls below, now lets see what we’ve got on top 🙂
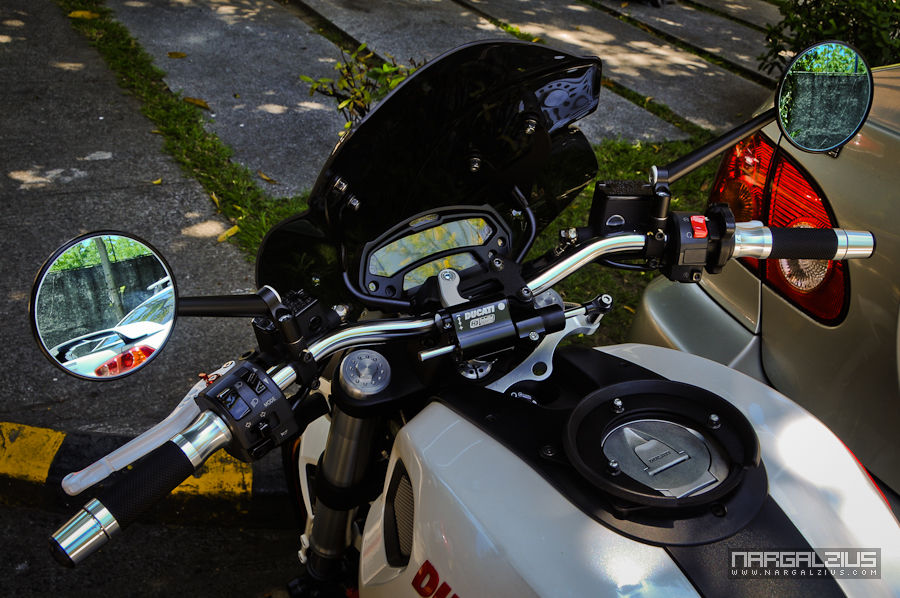
First are the Rizoma Mirrors, highly adjustable – which is always a good thing. Then we got Rizoma handlebar grips as well as Rizoma bar ends.
You’ll also notice a Ducati Performance steering damper which I was lucky enough to get on clearance. 3 Possibly the only reason I got it, because they say you don’t really feel the effects of a damper in normal traffic riding
There’s also a Givi Tanklock flange for my tank bag which is great since the Tanklock system prevents the mounted bags from scratching the tank.
I also have a stick-on Ducati tank protector which I haven’t installed yet, the reason for which is that I had a clear matte sticker installed on plastic parts (i.e. the black parts you see) this was to protect it from scratches in general. But if you can see form the picture, it’s not as pleasant to look at. The sticker will definitely do the job, but unless it gels better with the material underneath (which I’m hoping it will over time), it makes it look a bit old/worn.
As such, I’m still undecided if I’ll be removing them or not. On the one hand, they aren’t necessarily bad looking, 4 Besides, it’s not like the bike will never get scratched or wear over time but neither do they look nice. On the other hand I could just expose all the matte areas to scratches and the elements for the sake of aesthetics. And I honestly don’t know which is a better trade-off. That’s probably the only niggle I have as far as aesthetics goes.
Ignition
Another niggle (not aesthetic) that I have is that because of the bracket and damper, the ignition slot is now so deep down, that it’s a bit hard to use the regular key on it. Thankfully, I had my keys Keyported. So you can see how much more clearance I’m allowed with it. It’s almost as if you’re required to have a keyport if you’re using a damper.
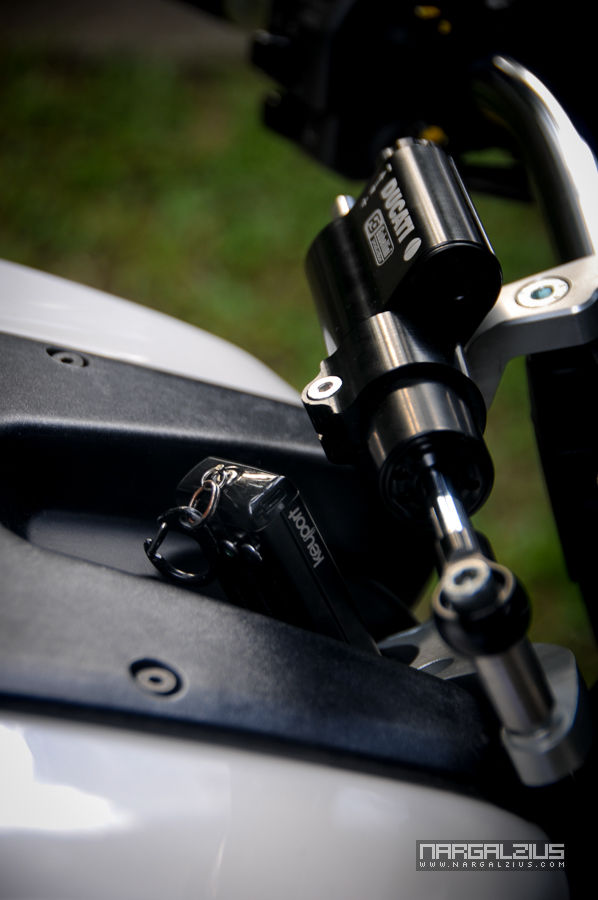
Still, I’m glad and excited especially since I’m finally going to get to use my Keyport as it was originally intended. For those who don’t know, Inventor of the Keyport actually made it precisely because he was a motorcycle rider – and didn’t want stuff jangling around in open air while riding in his bike.
Conclusion
So obviously, I love the bike. The only thing I miss is the lack of a single-sided swing arm, and perhaps an exhaust upgrade (but I can always do that at a later date).
All in all, I believe the modifications I made on it were tastefully done – and It’ll definitely hold its ground against bikes with more expensive modifications done to them (i.e. exhausts, full carbon parts, etc.)
I’ll definitely will still be proud to ride this bike – as if the fact that it’s a Ducati wasn’t reason enough! LOL
And for the coup de gras:
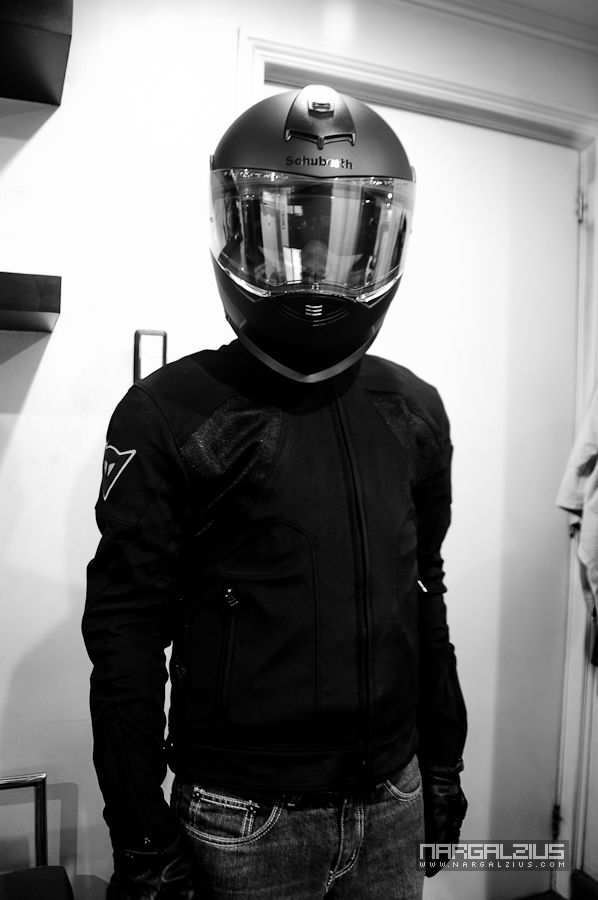
Riding Gear
I wasn’t sure where to put this particular “section”, (or if it should be included in this post at all) since I didn’t know if anyone was interested on what gear I chose. But just in case, here it is. I could go into detail, but I’ll probably only do that if ever someone comments asking about it. Other than that, I’ll just leave this as is.
The quick rundown is: Dainese Portland 2 jacket, Dainese Scythe gloves, Dainese Night Hawk boots, Dainese Bruxeilles raincoat, and a Schuberth S2 full-face helmet.
Notes
| ⇡1 | Although the slimmer tyres are sure to make it more agile – and easier to steer given my frame/build |
|---|---|
| ⇡2 | And upgrading the rest to match it was going to be too expensive an alternative |
| ⇡3 | Possibly the only reason I got it, because they say you don’t really feel the effects of a damper in normal traffic riding |
| ⇡4 | Besides, it’s not like the bike will never get scratched or wear over time |